
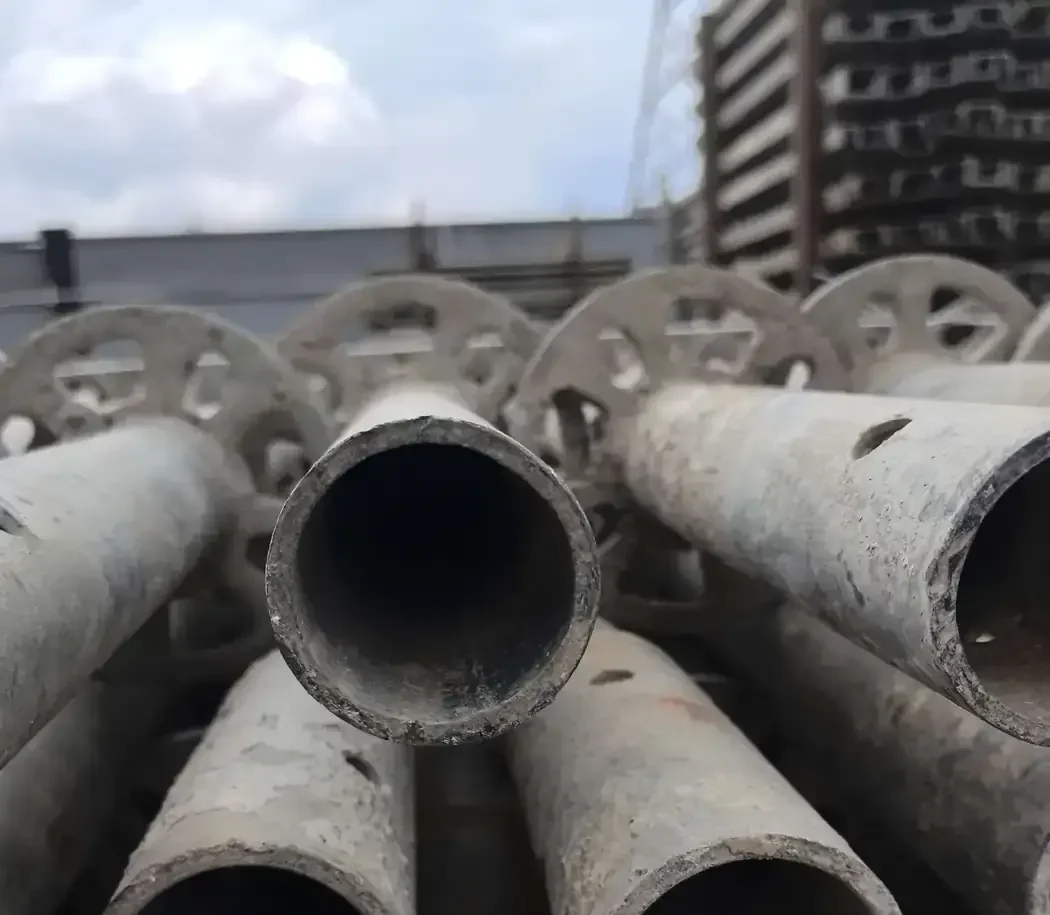
How to Check Whether Replacement Ringlock Components Fit Your Existing System
Buying replacement Ringlock components requires a different checking process from ordering a complete new scaffolding system.
A new system is normally prepared from one confirmed specification. Replacement components have an additional requirement:
They need to match the Ringlock system that is already in use.
That existing material may have been purchased years earlier, supplied from another source or produced for a different market.
For that reason, replacement parts should not be ordered only because the product name, approximate length or tube diameter looks correct.

Why “Ringlock” Does Not Automatically Mean “Compatible”
Ringlock describes a modular scaffolding system type.
It does not mean that every Ringlock component produced worldwide follows exactly the same geometry.
Differences can exist in:
- tube dimensions;
- component lengths;
- rosette geometry;
- Ledger-head geometry;
- wedge shape;
- Standard vertical connections;
- Diagonal Brace end fittings;
- Base Collar interfaces;
- Jack interfaces;
- manufacturing tolerances.
Two components can therefore both be called Ringlock without automatically being interchangeable.
1. Start by Identifying the Existing System
Before asking for replacement components, collect as much information as possible about the existing scaffold.
Useful information can include:
- 48 Series or 60 Series where known;
- Standard outside diameter;
- existing component lengths;
- Standard vertical connection type;
- rosette geometry;
- Ledger-head type;
- wedge shape;
- Diagonal Brace end connection;
- surface treatment;
- original drawing or product specification where available.
If the original records are unavailable, physical measurements and clear photos become much more important.
2. Confirm 48 Series or 60 Series, but Keep Checking
Identifying the system series is a useful first step.
It narrows the range of possible components.
But it is not a final compatibility decision.
A useful sequence is:
Confirm the series → identify the component → compare the connection → confirm actual fit.
For the identification process, see how to identify 48 Series and 60 Series Ringlock scaffolding.
3. Compare Product Dimensions
Start with the basic dimensions of the actual replacement component.
Depending on the part, this may include:
- tube outside diameter;
- wall thickness;
- component length;
- connection-to-connection dimensions;
- rosette position;
- plate dimensions;
- connection fitting dimensions.
Matching one dimension does not prove complete compatibility.
The whole component still needs to match the existing system.
4. Check Replacement Standards as Complete Components
A replacement Standard needs more than the correct tube diameter.
Check the Standard length, wall thickness, rosette positions, rosette geometry and vertical connection arrangement.
The rosette also needs to work correctly with the buyer’s existing Ledger head and wedge.
For the full Standard-specific process, see how to check replacement Ringlock Standard compatibility.
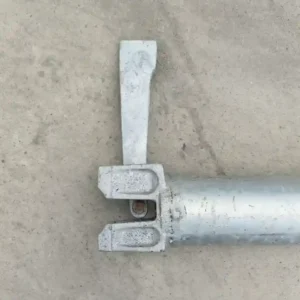
5. Check Replacement Ledgers at the Connection
A Ledger can have the correct-looking tube and nominal length while its connection head is different.
Compatibility may depend on:
- actual Ledger length;
- Ledger-head geometry;
- wedge position;
- contact surfaces;
- head alignment;
- fit around the existing rosette.
The useful question is not:
“Is the Ledger tube the same size?”
It is:
“Does the complete Ledger seat and lock normally in the existing Ringlock node?”
For the detailed check, see how to check replacement Ringlock Ledger compatibility.
6. Check Replacement Diagonal Braces Separately
Diagonal Braces are sensitive to the actual bay and connection geometry.
A replacement Brace may need to match:
- bay width;
- vertical connection levels;
- Brace size;
- end fitting geometry;
- connection orientation;
- existing Ringlock nodes.
A similar-looking Brace can still fail to reach or lock into the intended connection points.
For the specialist guide, see how to check replacement Ringlock Diagonal Brace compatibility.
7. Base Collars Also Need Interface Confirmation
A replacement Base Collar should be checked against the existing starting arrangement.
Confirm how it interfaces with:
- the Base Jack;
- the first Standard;
- the first Ledger level;
- the selected Ringlock series.
Overall length alone does not confirm that the Base Collar is the correct replacement.
8. Base Jacks Need More Than the Correct Screw Length
A replacement Base Jack should match the existing starting arrangement.
Useful product information includes:
- screw dimensions;
- nut type;
- Base Plate specification;
- surface treatment;
- fit with the Base Collar or Standard;
- required physical product length.
Do not confuse total screw length with permitted site working extension.
For detailed Jack inspection, see Ringlock Base Jack and U-Head Jack inspection.
9. U-Head Replacement Includes the Upper Plate Arrangement
A replacement U-Head Jack should be checked as more than a threaded screw.
Confirm:
- screw specification;
- nut arrangement;
- U-Head plate dimensions;
- plate geometry;
- fit with the existing Ringlock support system;
- the required upper support arrangement.
If the U-Head is intended to receive timber bearers, H20 beams or steel members, the product supplied should match the confirmed project requirement.
10. Surface Finish Does Not Prove Compatibility
Two hot-dip galvanized Ringlock components can look almost identical.
That tells you that both have a similar type of surface treatment.
It does not prove that their:
- dimensions;
- rosette geometry;
- Ledger heads;
- wedge arrangements;
- vertical connections;
- Brace fittings
are compatible.
Colour and surface appearance are not compatibility measurements.
11. Photos Are Useful When the Original Specification Is Missing
Clear photos can help identify an unknown existing system.
Useful photos may include:
- complete Standard;
- rosette close-up;
- Ledger head;
- wedge;
- Standard sleeve or spigot;
- Diagonal Brace end;
- Base Collar;
- Base Jack;
- U-Head Jack.
Include a ruler, caliper or another clear measurement reference where useful.
Photos are most useful when they support actual dimensional information rather than replacing it.
12. A Physical Sample Can Reduce Guessing
For a larger replacement order, an existing serviceable component may sometimes provide a stronger reference than a long written description.
A sample can allow direct comparison of:
- dimensions;
- connection geometry;
- rosette fit;
- Ledger-head fit;
- wedge engagement;
- Standard connection;
- general assembly behaviour.
The closer the replacement check gets to the actual existing component, the less the order depends on assumptions.
13. Use Assembly Fit as a Confirmation Step
Measurements and photos can narrow the compatibility question.
Actual assembly can reveal problems that separate measurements may miss.
For example, a replacement Ledger can be tried with a known serviceable Standard to see whether the head seats normally and the wedge locks without abnormal force or looseness.
But a basic fit test should not be confused with proof that two entire systems are universally interchangeable.
For the dedicated QC process, see Ringlock scaffolding assembly fit check.
14. Do Not Force Components to Make Them Look Compatible
A component should not pass compatibility checking simply because workers can eventually hammer it into place.
Excessive force may be hiding:
- incorrect geometry;
- wrong component dimensions;
- deformation;
- wrong Ledger-head geometry;
- incorrect rosette geometry;
- overall system mismatch.
Normal fit is more useful than forced fit.
15. Too Loose Can Be as Important as Too Tight
A replacement part can also appear to fit while leaving abnormal movement in the connection.
If unusual looseness remains after normal assembly, inspect the complete connection rather than replacing one part repeatedly.
For a Ledger node, that can mean checking:
Wedge → rosette opening → Ledger head → component deformation → compatibility.
For component-condition inspection, see Ringlock rosette, wedge and Ledger connection inspection.
16. Do Not Use One Universal Compatibility Tolerance
There is no single dimensional tolerance table in this guide that proves every Ringlock component from every source is interchangeable.
Compatibility and product acceptance should refer to the actual:
- drawing;
- confirmed product specification;
- contract requirement;
- company quality requirement;
- applicable project requirement.
The existing serviceable system itself is also an important reference for replacement purchasing.
Replacement Ringlock Compatibility Checklist
| Component | What to Confirm |
|---|---|
| System | 48 or 60 Series where known and existing product specification |
| Standard | Dimensions, rosette position, rosette geometry and vertical connection |
| Ledger | Length, Ledger head, wedge arrangement and rosette fit |
| Diagonal Brace | Bay geometry, connection levels and end fittings |
| Base Collar | Interface with Base Jack, Standard and first Ledger level |
| Base Jack | Product dimensions and starting-system interface |
| U-Head | Screw, plate geometry and required top-support arrangement |
| Assembly Check | Normal seating and locking without excessive force or abnormal looseness |
What Information Should Be Prepared for a Replacement Enquiry?
A replacement request is more useful when it includes:
- 48 Series or 60 Series if known;
- required component names;
- quantities;
- existing dimensions;
- clear connection photos;
- rosette measurements;
- Ledger-head and wedge photos where relevant;
- Standard connection details;
- drawing or BOQ if available;
- sample information where practical.
If the original system is uncertain, state that clearly rather than guessing.
Why a BOQ Alone May Not Prove Compatibility
A BOQ may describe:
- Standard 2.0 m;
- Ledger 1.5 m;
- Diagonal Brace;
- Base Jack;
- U-Head Jack.
That can describe the quantity requirement.
It may still be missing the connection geometry needed to match an unknown existing inventory.
Replacement orders often need more dimensional and connection information than complete new-system orders.
Complete New System vs Replacement Order
| Order Type | Main Question |
|---|---|
| Complete New Ringlock System | Do the supplied components follow the confirmed system specification? |
| Replacement Components | Will the new parts work correctly with the buyer’s existing system? |
TJJG Replacement Component Confirmation
TJJG can support replacement-component confirmation using customer-provided specifications, drawings, BOQs, dimensions, photos and available samples.
Where compatibility remains uncertain, additional dimensional or assembly confirmation may be needed before a larger replacement order is produced.
The objective is to confirm the supplied component rather than assume that everything described as Ringlock is universally interchangeable.
Conclusion
When buying replacement Ringlock parts, matching the product name is only the beginning.
A practical process is:
Identify the existing system → confirm the series → compare dimensions → compare connection geometry → check the individual component → confirm practical fit.
Do not buy replacement components based only on appearance, approximate length or the word “Ringlock.”
The final question is:
Will this replacement component work normally with the Ringlock system the buyer already owns?